.png)

How to Clean Your Refrigerator the Right Way: Step-by-Step Guide for 2025
A clean refrigerator isn’t just nice to look at—it’s essential for food safety, energy efficiency, and your appliance’s lifespan. Here’s the ultimate guide to cleaning your fridge the right way.

Why Cleaning Your Refrigerator Matters
Most people forget to clean the fridge until it smells—or worse, food spoils. But routine maintenance can:
- Prevent foodborne illnesses (Salmonella, E. coli)
- Eliminate odors from old spills and expired food
- Improve efficiency by removing dust and clutter
- Extend your refrigerator’s lifespan
Fact: A 2023 NSF study found that vegetable drawers often harbor more bacteria than cutting boards!
Step-by-Step Guide to Cleaning Your Fridge
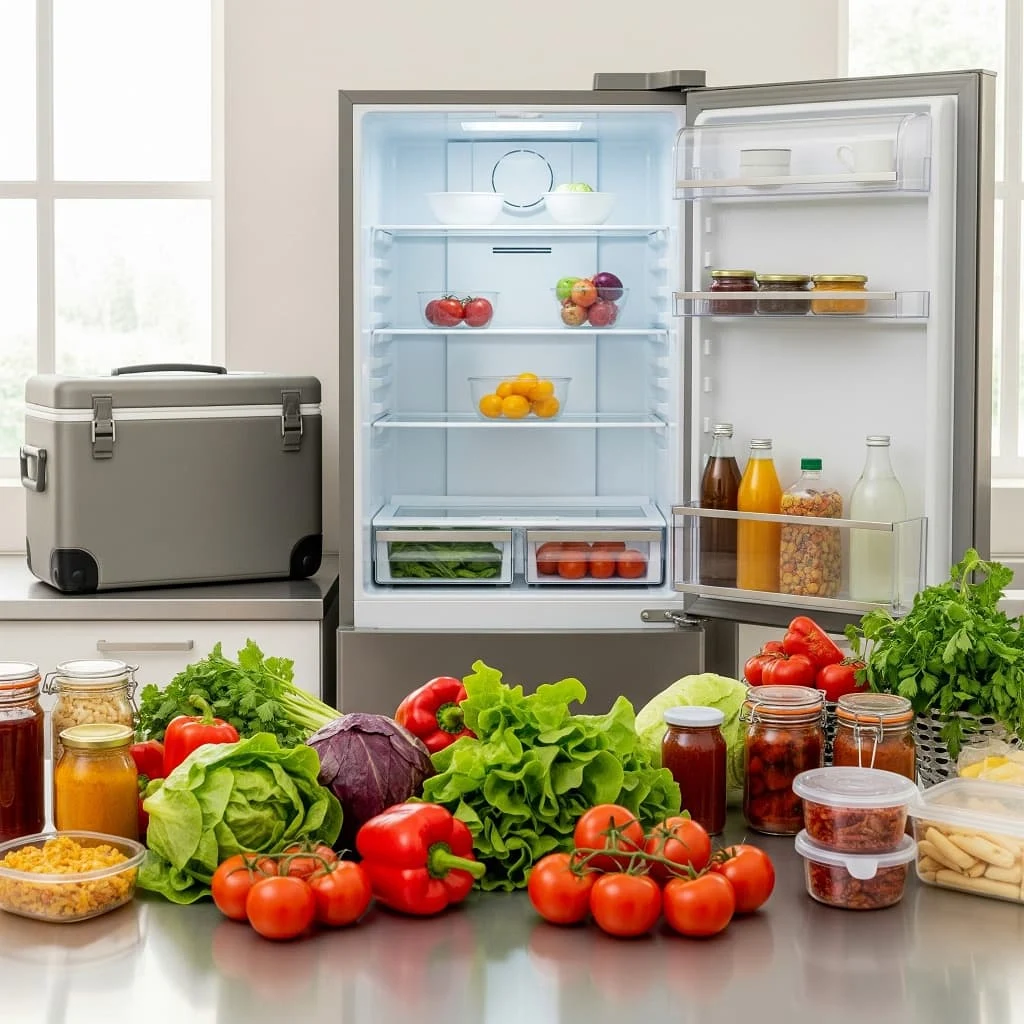
Step 1: Empty and Sort the Contents
Start by taking everything out. Use this moment to:
- Check expiration dates
- Throw away anything spoiled or suspicious
- Separate food into keep, toss, and
use-soon piles
Pro Tip: Use a cooler with ice packs to keep perishables cold during cleaning.
Step 2: Remove Shelves and Drawers
Most fridges have removable parts—take advantage!
- Glass shelves: Wash with warm, soapy water; dry thoroughly.
- Plastic bins: Soak in a 1:1 vinegar-water mix to disinfect.
- Rubber seals: Use baking soda paste to remove mildew and grime.
Warning: Avoid abrasive cleaners like steel wool—they scratch surfaces, allowing bacteria to grow.

Step 3: Deep Clean Interior Surfaces
Now that the fridge is empty, focus on walls, ceilings, and corners.
Best Natural Cleaning Solutions:
- General cleaning: Warm water + dish soap
- Disinfecting: 1 tbsp bleach + 1 gal water (rinse well)
- Odor removal: Baking soda paste or lemon juice
Use a soft sponge or microfiber cloth to:
- Wipe down all surfaces
- Scrub stubborn spills
- Dry completely to prevent mold
Expert Tip: Leave an open box of baking soda inside to keep odors at bay.

Step 4: Clean the Exterior and Coils
Your fridge’s outside matters too!
Exterior Cleaning:
- Stainless steel: Use 50/50 vinegar-water. Wipe with the grain.
- Rubber door seals: Use a damp cloth to prevent cracks.
Condenser Coils:
Located at the back or bottom of the fridge. Use a vacuum or soft brush every 6 months.
Fun Fact: Dirty condenser coils can increase energy use by 30%!

Step 5: Organize for Freshness and Efficiency
Now that everything’s clean, organize food by zone:
| Shelf Area | What to Store |
|---|---|
| Top Shelf | Ready-to-eat meals, leftovers |
| Middle Shelf | Dairy (milk, yogurt, cheese) |
| Bottom Shelf | Raw meats (prevents leaks) |
| Crispers | Fruits and veggies (adjust humidity if available) |
| Door Bins | Condiments, sauces (least cold area) |
Bonus Tip: Use clear storage bins to group similar items like snacks or sauces.

How Often Should You Clean Your Fridge?
- Weekly: Wipe small spills
- Monthly: Check for expired food
- Every 3–6 months: Deep clean inside & out
- Annually: Vacuum the coils
Quick Fridge Cleaning FAQs
Q: How do I get rid of stubborn fridge odors?
A: Use activated charcoal, coffee grounds, or a bowl of baking soda for 24–48 hours.
Q: Can I use vinegar to clean my fridge?
A: Yes! It’s a natural disinfectant. Mix 1:1 with water for most surfaces.
Q: Why is water pooling at the bottom?
A: Check the drain hole (usually at the back of the fridge). Clean with a pipe cleaner.
Q: Can I clean fridge coils with water?
A: No—always use a vacuum or dry brush to avoid electrical issues.
Final Recap: The Clean Fridge Checklist
- Empty & sort the contents
- Remove & wash all shelves and drawers
- Deep clean the interior with natural cleaners
- Wipe down the exterior and vacuum coils
- Reorganize food strategically

Final Thoughts
A clean fridge isn’t just a good habit—it’s an investment in your health, wallet, and kitchen efficiency.
So grab your sponge, turn on your favorite playlist, and give your fridge the refresh it deserves!


.png)
